Food Preparation Guide
Prep with less friction
Food Preparation Guide
Use blenders, mixers, choppers, processors, and similar tools more confidently by matching the blade, bowl, speed, and batch to the task.
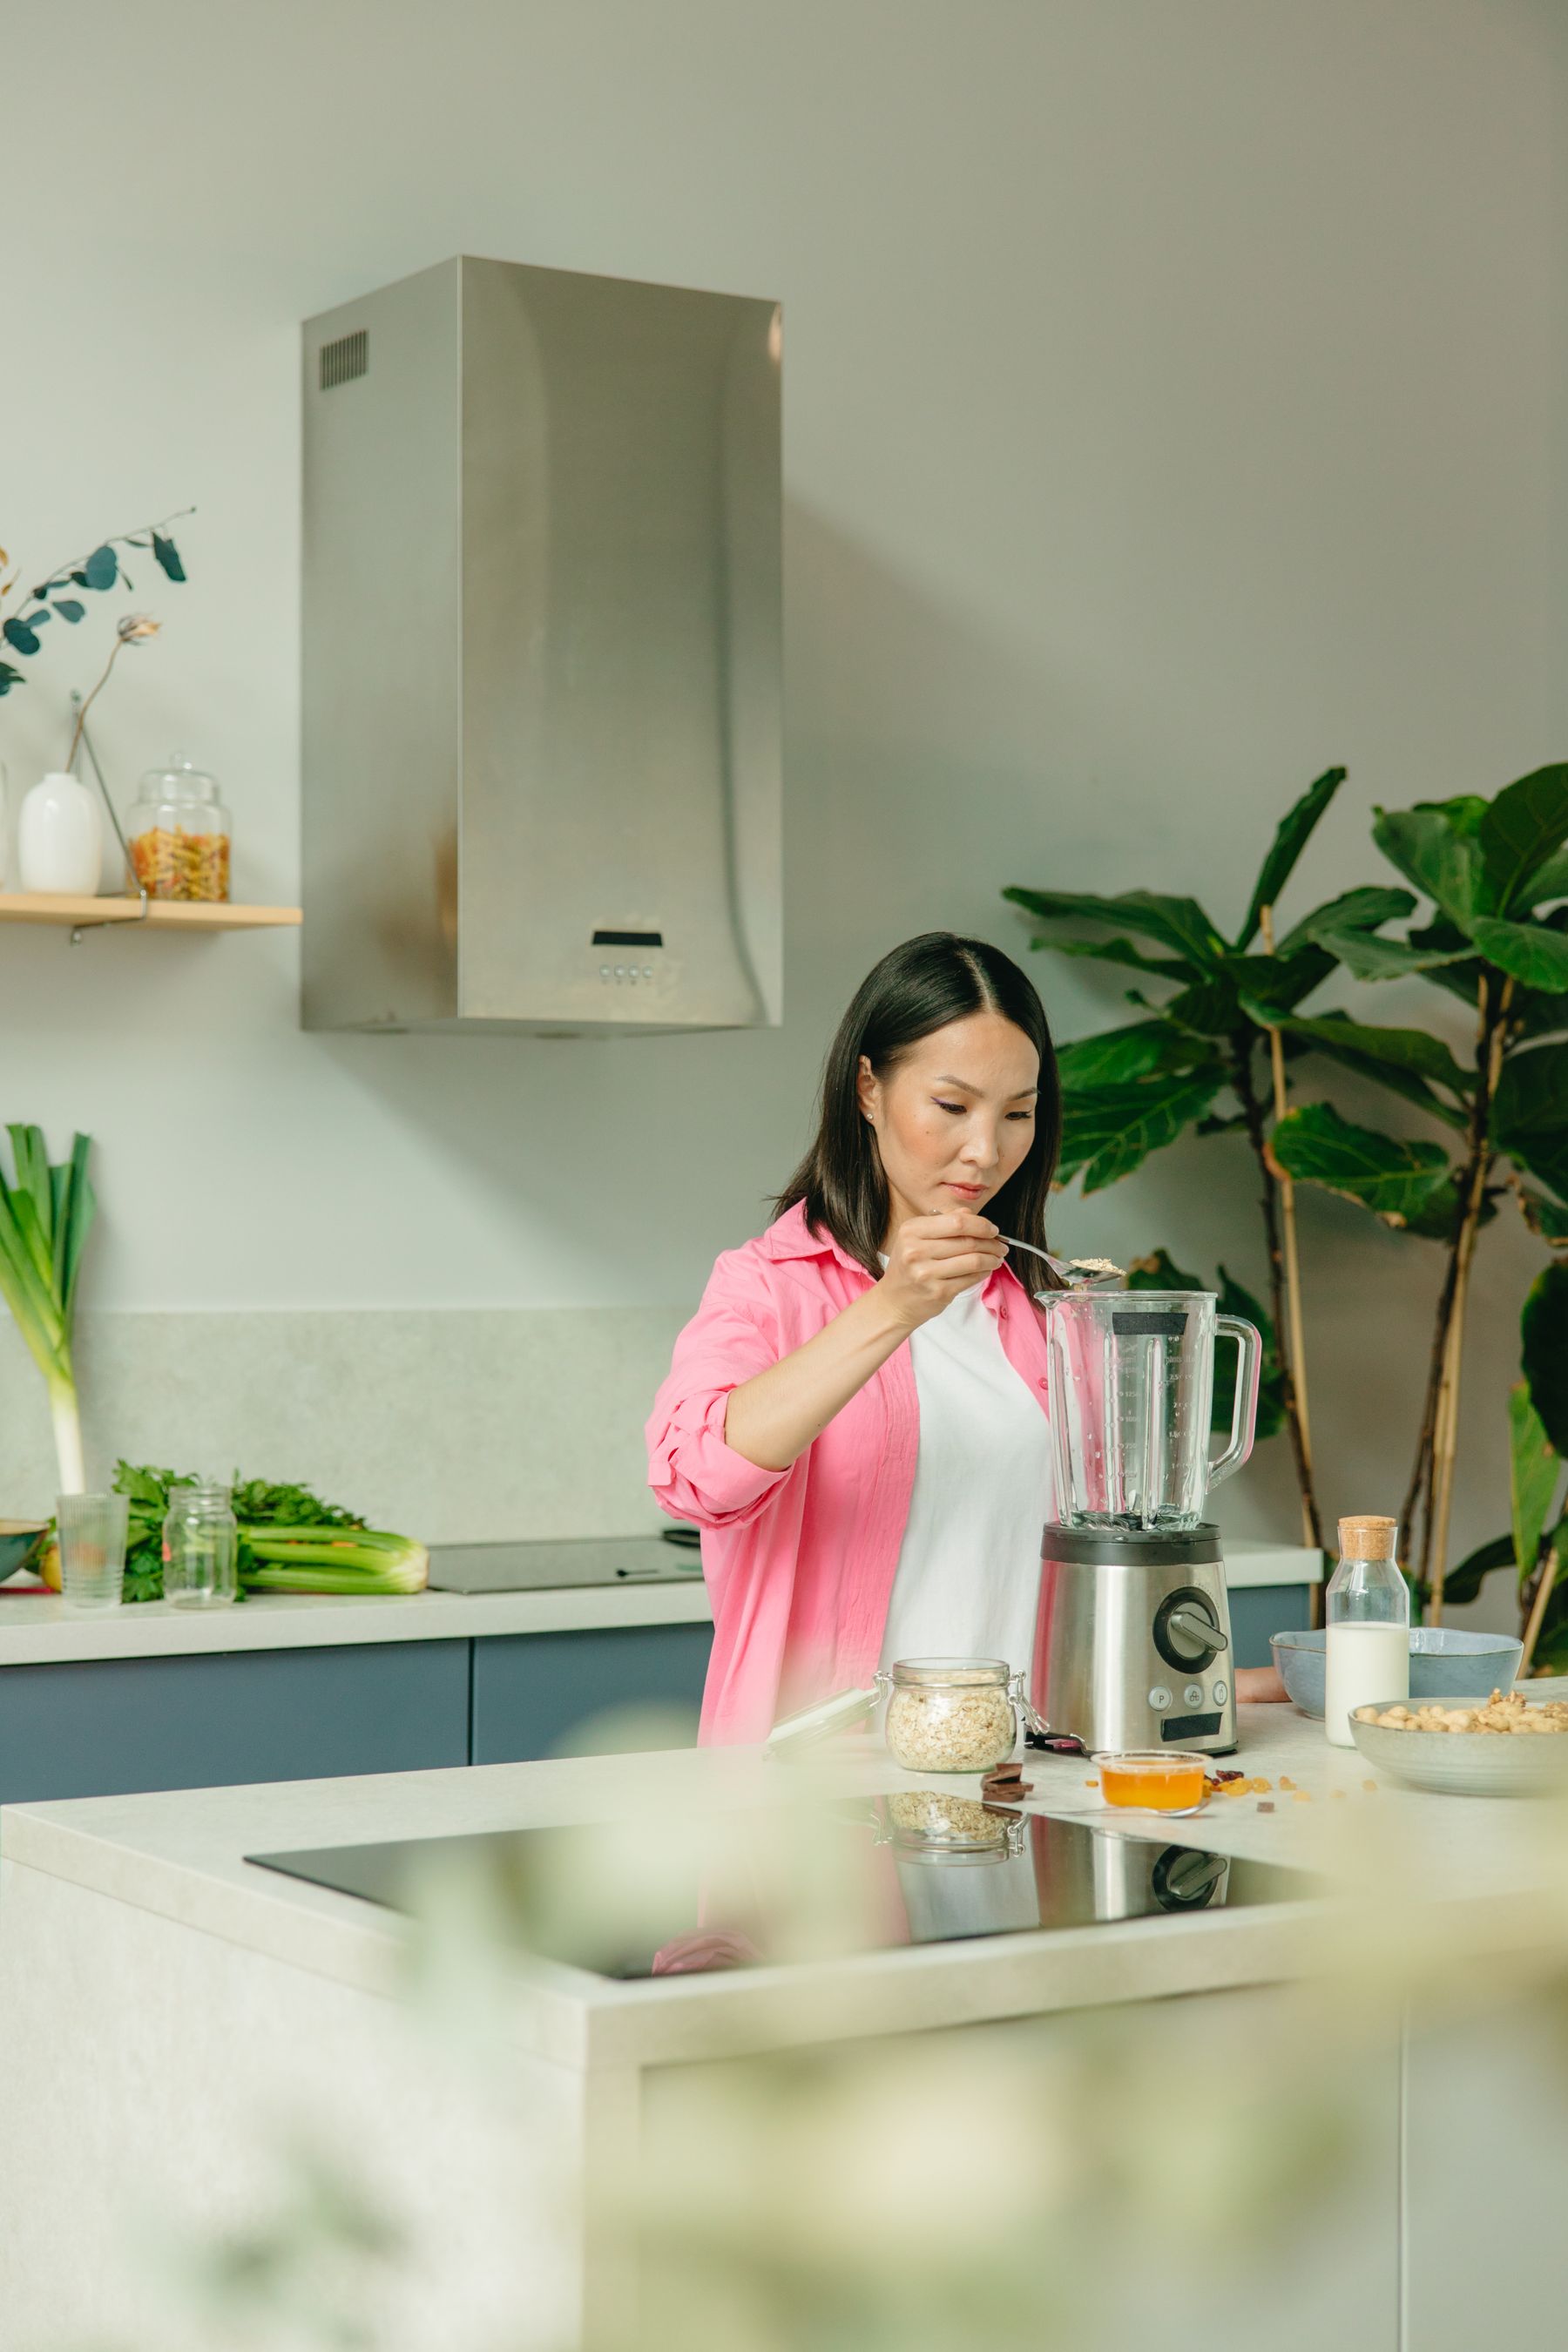
Choose well
Let the task choose the tool
Chopping, blending, whisking, kneading, and slicing place different demands on motors and attachments. A clear task list is the simplest way to avoid buying overlapping tools.
Texture goal
Define whether you need rough chopping, smooth blending, whipping, kneading, slicing, or grating before comparing attachments.
Batch range
Check both maximum and minimum working quantities. Large bowls can be inefficient for very small portions.
Control style
Pulse control offers short bursts; variable speed can help when texture changes gradually.
Assembly and storage
Confirm that bowls, lids, blades, beaters, and discs are easy to identify, lock, clean, and store safely.
First-use plan
Set up with a clear sequence
Product instructions always take priority. These steps help organize the process before normal use.
Identify every component
Review the blade, disc, whisk, hook, lid, pusher, and locking positions before adding food.
Wash food-contact parts
Handle blades by their safe edges or hubs and use the cleaning method in the manual.
Lock before power
Seat the bowl, lid, and attachment completely before connecting or starting the appliance.
Test with a small batch
Use a simple ingredient at low speed or short pulses to learn how quickly the texture changes.
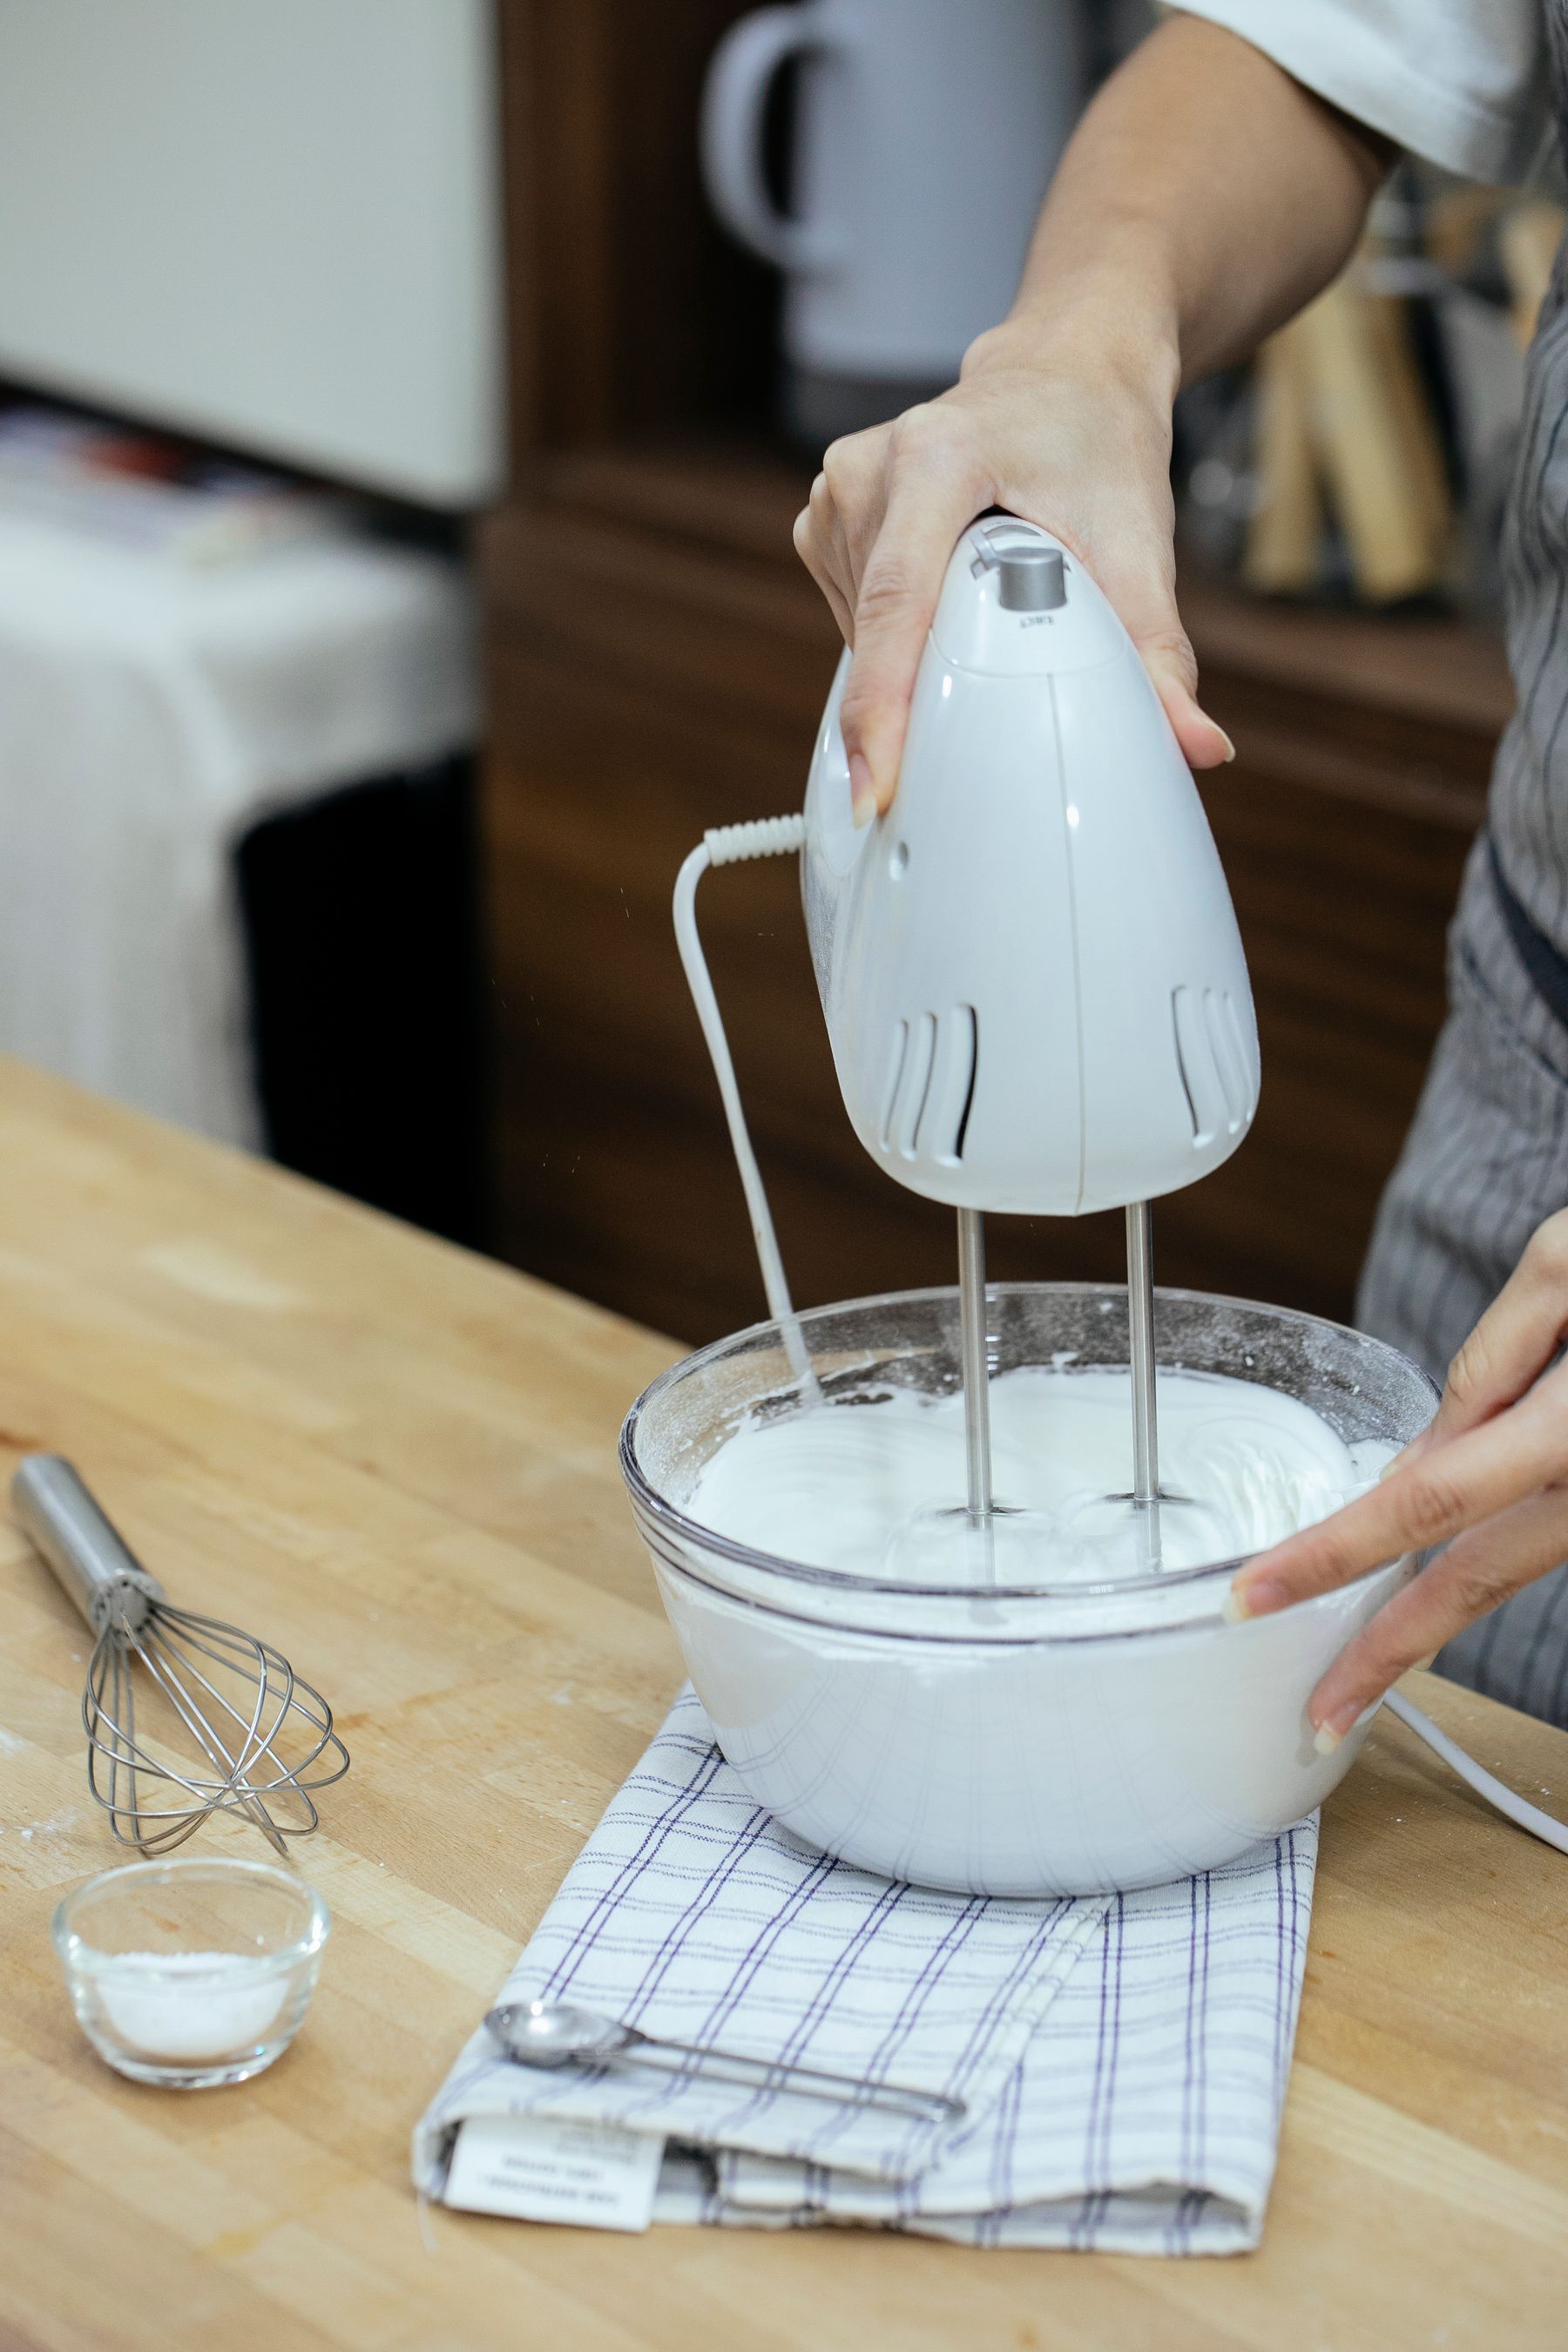
Everyday technique
Small habits, more repeatable results
- Cut evenly: Similar ingredient sizes support more consistent processing and reduce large pieces circulating above the blades.
- Use the feed tool: Use only the supplied pusher or method; never guide food toward moving parts with hands or utensils.
- Pause before scraping: Switch off, unplug, and wait for all movement to stop before opening or scraping.
- Avoid overfilling: Stay within the stated capacity, especially for liquids, doughs, and expanding mixtures.
- Add liquids deliberately: Use the order and opening described for the recipe and appliance to reduce splashing or trapped dry ingredients.
- Watch workload: Respect maximum run times and rest intervals for dense mixtures or extended processing.
Always follow the appliance manual, food-safety guidance, and any recipe-specific instructions. Stop using an appliance that appears damaged or operates unexpectedly.
Care routine
Clean, dry, inspect, store
Build these checks into the end of each use so the appliance is ready for the next task.
- Unplug before removing attachments, clearing food, or cleaning.
- Handle sharp blades and discs separately and never leave them hidden in soapy water.
- Rinse or soak approved parts promptly so mixtures do not harden.
- Keep motor housings dry and wipe them with a soft cloth.
- Dry, count, and store attachments so sharp edges are protected.
Helpful answers
Frequently asked questions
Clear answers for confident everyday use.
When should I use pulse instead of continuous speed?
Pulse is useful when you want short, controlled changes in texture. Continuous speed may be better for smooth blending or sustained mixing when the manual allows it.
Why is food stuck above the blade?
The batch may be too small, too dry, or cut unevenly. Stop and unplug the unit before repositioning food, then adjust quantity or add liquid only if the recipe permits.
Why does dough make the machine slow down?
Dense mixtures create a heavier load. Check the maximum flour or dough capacity, attachment, speed, and required rest periods for your model.
Can all attachments go in the dishwasher?
No. Dishwasher suitability varies by material and model. Check each part in the product instructions.
How do I avoid overprocessing?
Start with short pulses or a lower speed, inspect frequently, and stop slightly before the final texture if residual movement continues.
What if the lid will not lock?
Disconnect power, remove the bowl and attachment, then reassemble in the sequence shown in the manual. Do not force safety interlocks.
HearthNexa support
Still deciding or troubleshooting?
Share the appliance type, model information, what you expected, and what happened. For order questions, include your order number.