Breakfast Appliance Guide
A smoother morning setup
Breakfast Appliance Guide
Build a practical breakfast station around your routine, from toast and waffles to eggs, coffee, and quick warm-ups.
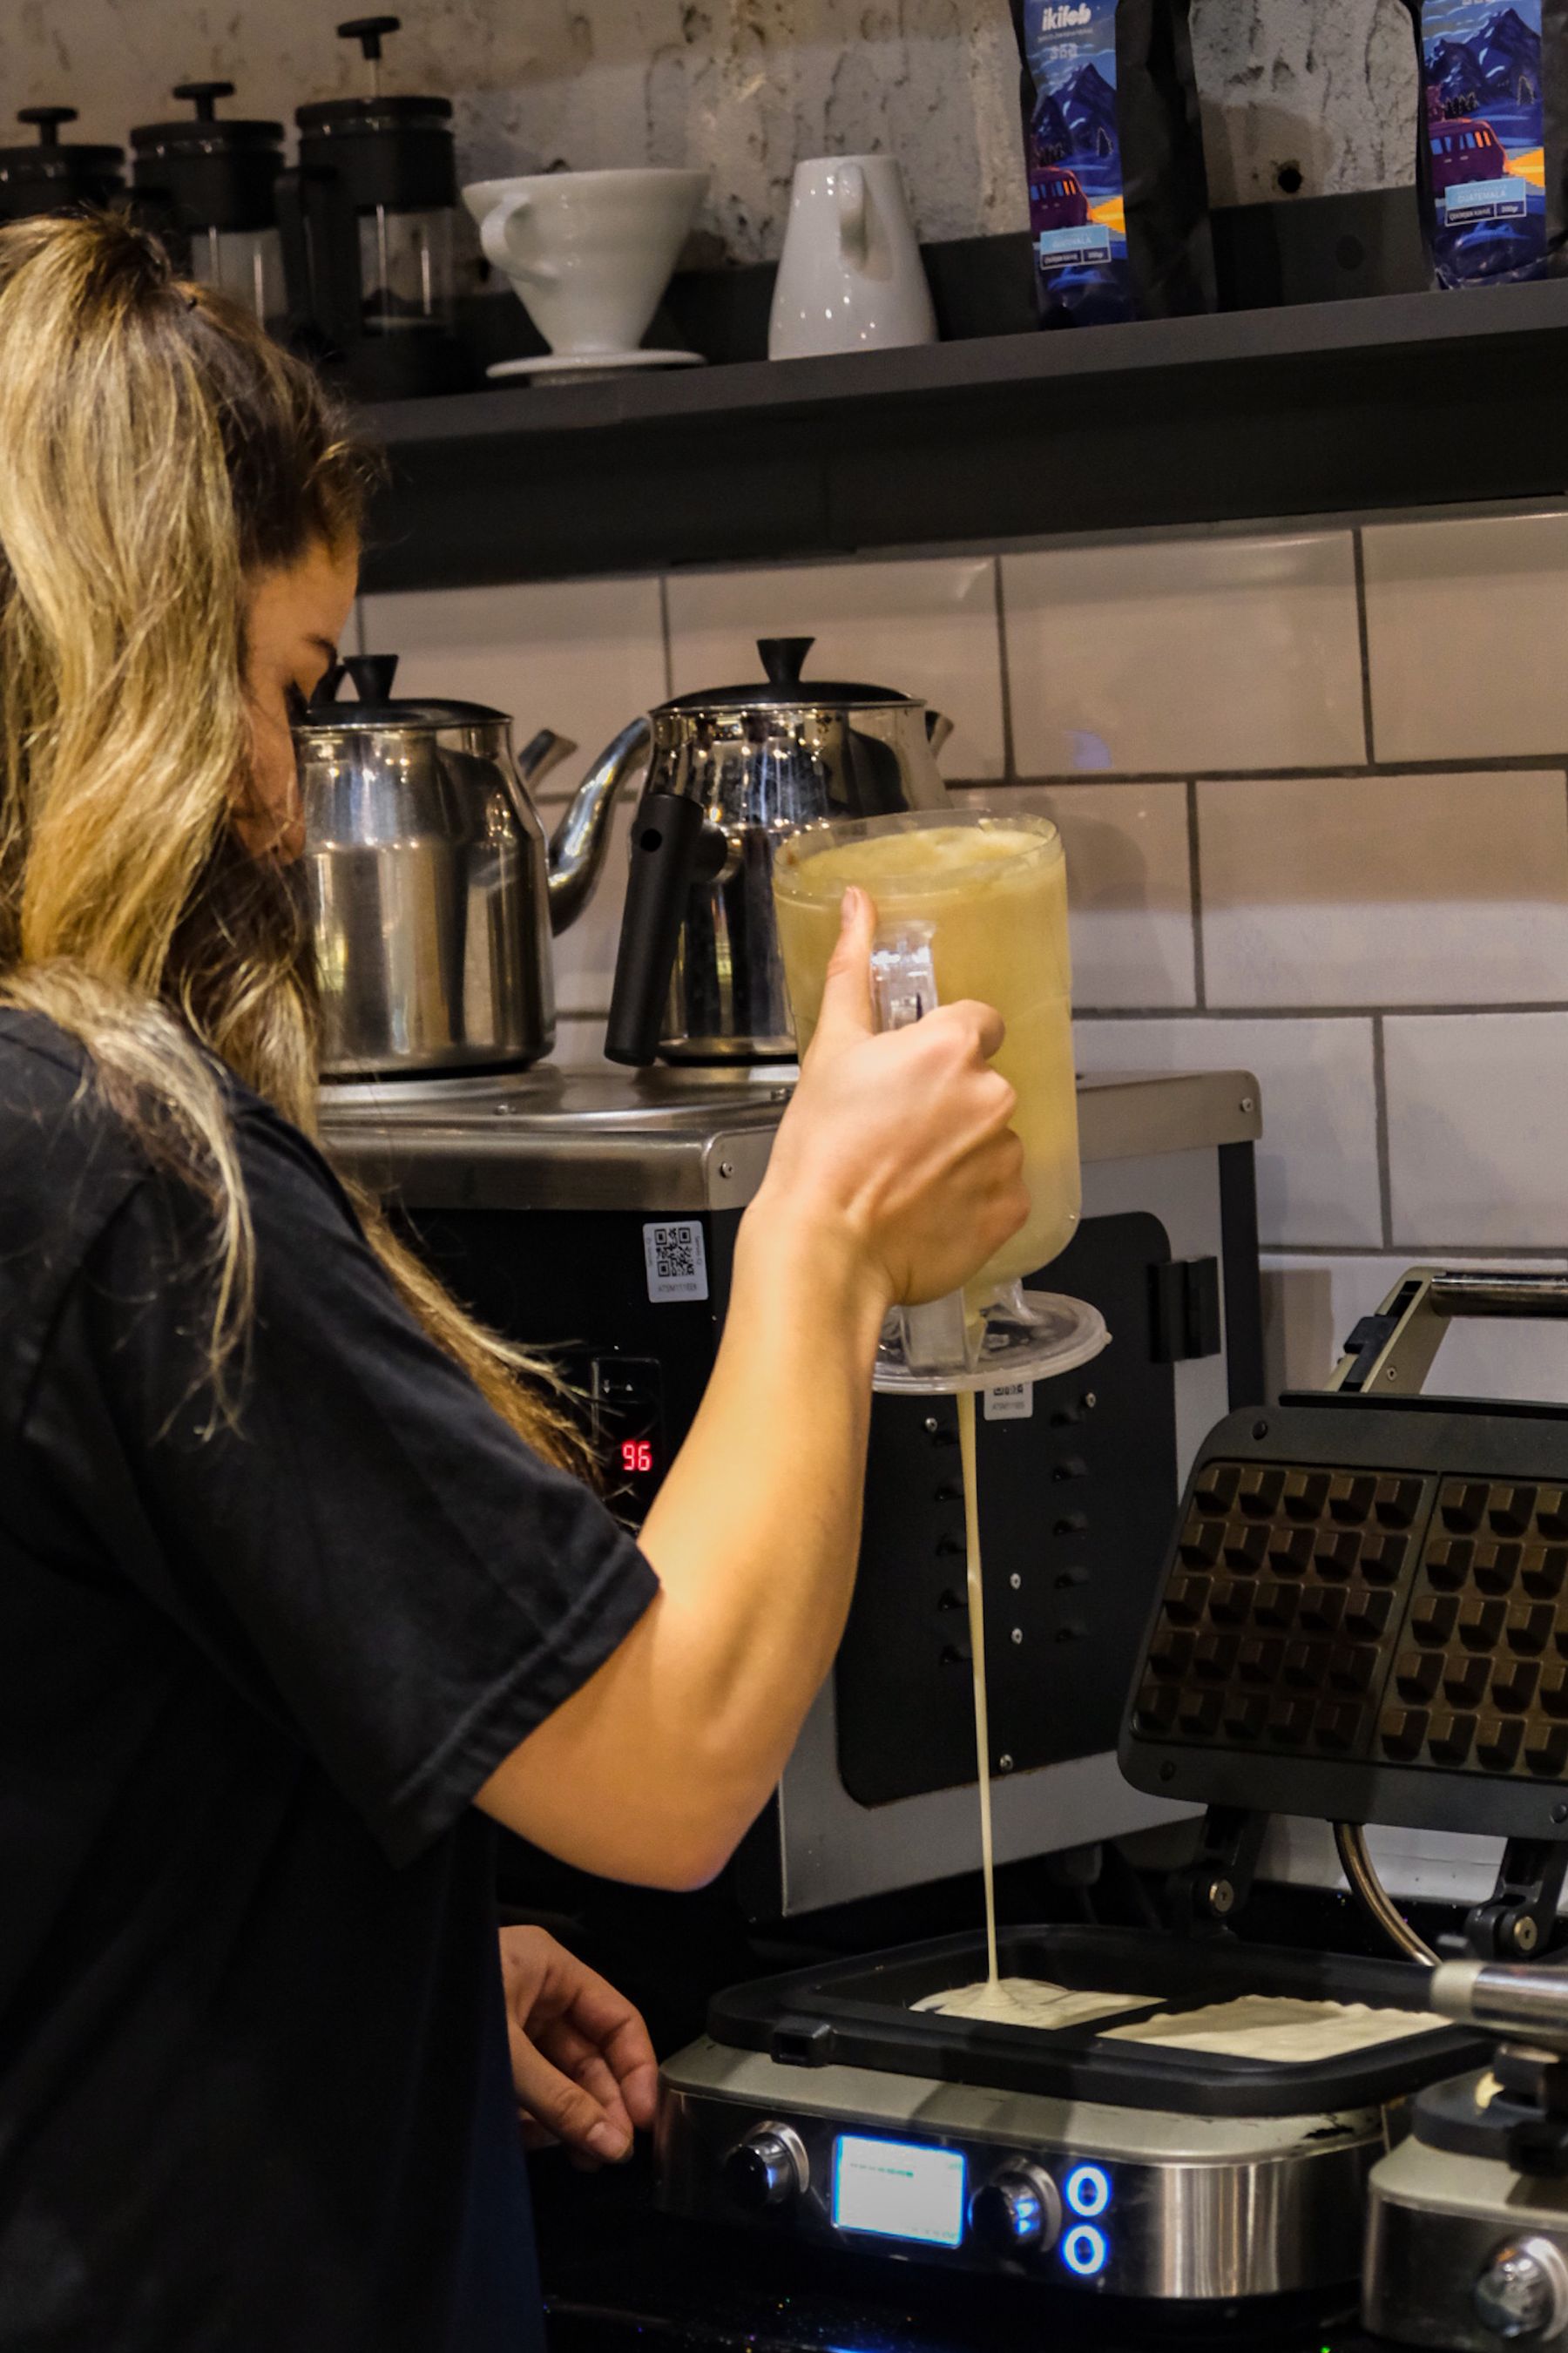
Choose well
Design the routine before the counter
The best breakfast setup reduces back-and-forth. Group appliances by task, keep hot zones clear, and choose capacity based on how many servings must be ready together.
Serving rhythm
A two-slot toaster may suit staggered meals, while a larger waffle plate or griddle can help when several servings need to finish together.
Browning control
Look for controls that are clear, repeatable, and easy to adjust for different bread thicknesses or batters.
Counter workflow
Plan a preparation area, a hot-appliance zone, and a serving area so cords and hands do not cross unnecessarily.
Crumb and batter access
Removable crumb trays, drip channels, and accessible plates make daily cleanup more manageable.
First-use plan
Set up with a clear sequence
Product instructions always take priority. These steps help organize the process before normal use.
Group the essentials
Keep ingredients and utensils close, but away from vents and hot surfaces.
Prepare cold items first
Measure batter, slice toppings, or fill the kettle before high-heat appliances are running.
Sequence by hold time
Start items that stay warm well, then finish toast or eggs closer to serving.
Reset the station
Unplug, cool, empty crumbs, wipe spills, and return dry tools to their storage area.
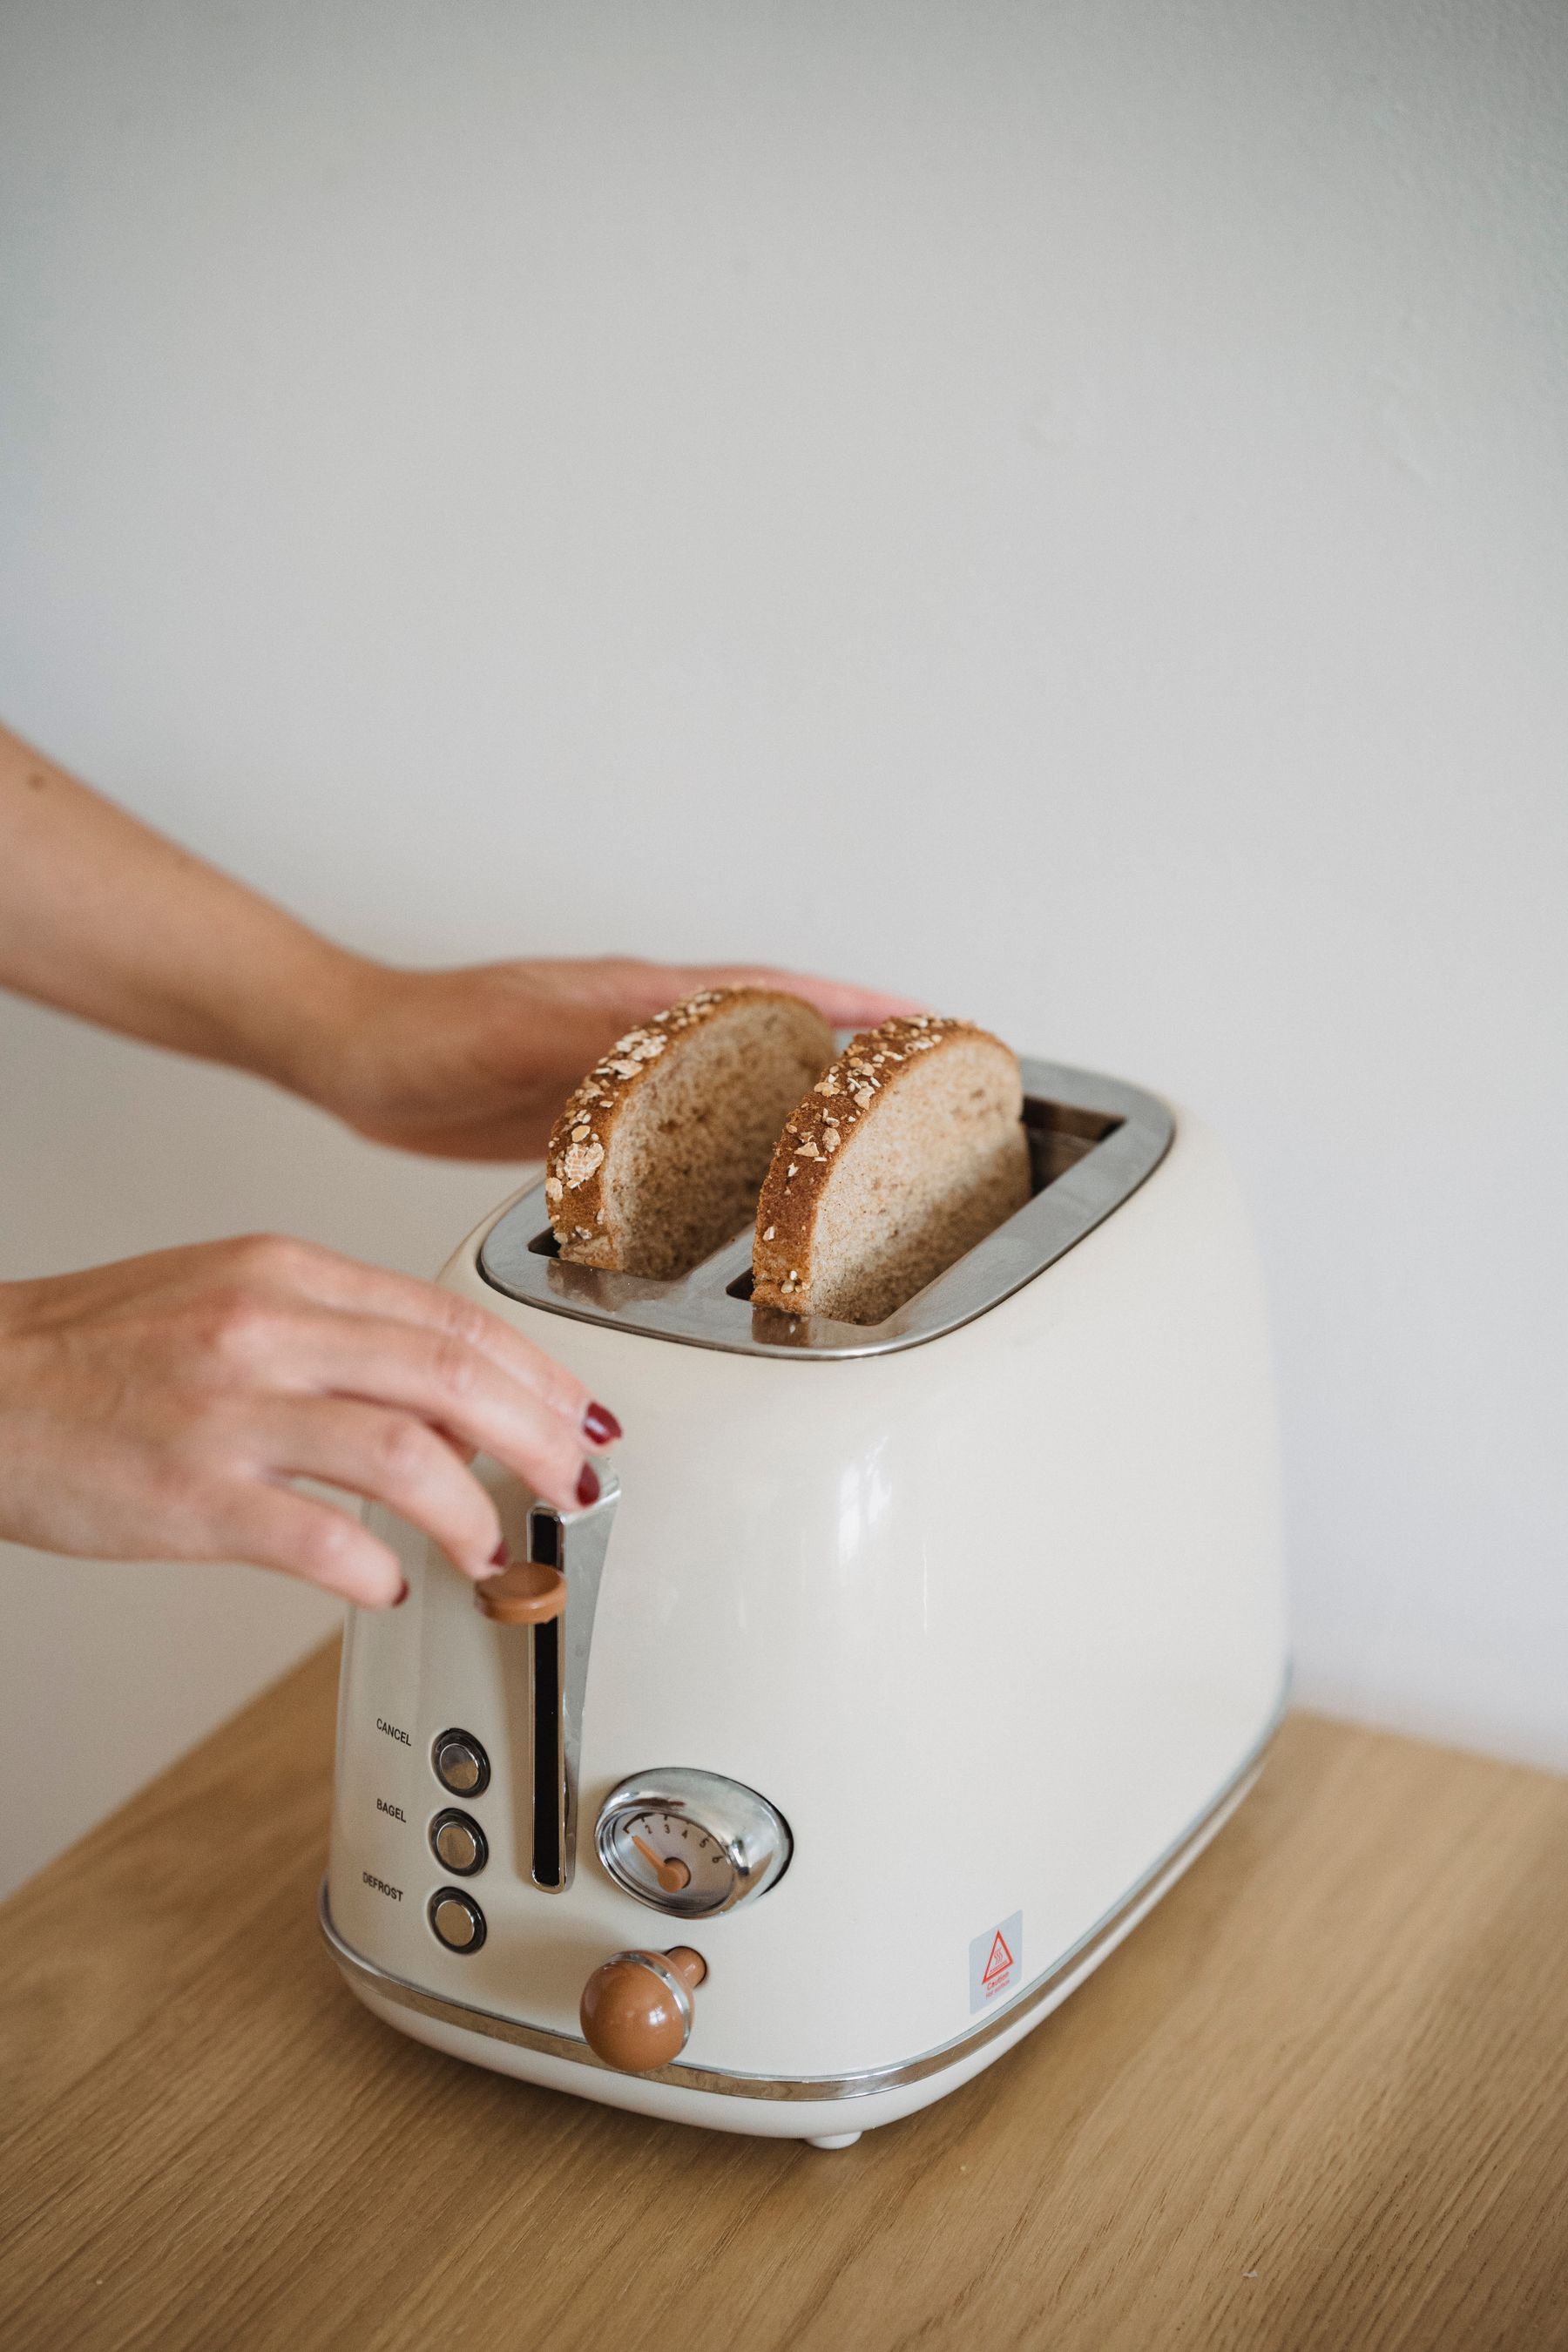
Everyday technique
Small habits, more repeatable results
- Use consistent portions: Repeatable bread thickness and batter volume make browning and timing easier to predict.
- Keep slots clear: Never insert utensils into a connected toaster. Unplug it and follow the manual for jammed food.
- Mind expanding batter: Leave the fill space recommended for the waffle maker or breakfast press.
- Protect cords from heat: Route cords away from hot plates, steam, sink edges, and walkways.
- Use suitable tools: Choose non-scratching utensils for coated plates and keep metal away from heating slots.
- Clean small spills promptly: After cooling and unplugging, remove batter or crumbs before they harden.
Always follow the appliance manual, food-safety guidance, and any recipe-specific instructions. Stop using an appliance that appears damaged or operates unexpectedly.
Care routine
Clean, dry, inspect, store
Build these checks into the end of each use so the appliance is ready for the next task.
- Empty removable crumb trays regularly without shaking the appliance while connected.
- Let waffle, grill, or sandwich plates cool before wiping them.
- Do not immerse appliance bodies, cords, or plugs in water.
- Avoid abrasive pads on polished or coated surfaces.
- Store only when clean, dry, cool, and free of food residue.
Helpful answers
Frequently asked questions
Clear answers for confident everyday use.
Why does toast brown differently from one loaf to another?
Moisture, thickness, density, sugar, and starting temperature all affect browning. Begin with a moderate setting and adjust one step at a time.
Should I grease a waffle maker?
Follow the model and recipe instructions. Some coated plates need little or no added oil, while certain batters or surfaces may require a light application.
How can several breakfast items finish together?
Plan the order based on preheat time and how well each food holds. Prepare ingredients first and use timers for overlapping tasks.
Can I wrap a toaster or hot plate for storage?
Only after it is unplugged, fully cool, clean, and dry. Keep the cord loose and follow the storage instructions in the manual.
What causes batter to overflow?
Excess batter, strong leavening, or closing the lid too quickly can contribute. Use a consistent measure and follow the appliance guidance.
What if a handle or latch feels loose?
Stop using the appliance and inspect the product instructions. Contact support rather than forcing or attempting an unsupported repair.
HearthNexa support
Still deciding or troubleshooting?
Share the appliance type, model information, what you expected, and what happened. For order questions, include your order number.